Your First 14 Days in Japan: The Essential Arrival Checklist
Congratulations and welcome to Japan! The excitement of starting this new adventure is immense. But after you land, the big question is what to do after arriving in Japan? To get started on the right foot, there are a few crucial administrative steps to complete within 14 days of settling into your permanent residence.
It might seem daunting, but don’t worry. This Japan arrival checklist will guide you step-by-step through each stage for a simple and stress-free setup.
Step 1: Registering Your Residence Card (The Top Priority)

This is the most important step in setting up life in Japan, as it officially establishes you as a resident and unlocks all other procedures.
- The Goal: To register your home address on the back of your Residence Card (在留カード, Zairyu Card). This process is known as registering your residence card in Japan.
- The Place: Your local city or ward office (市役所, shiyakusho or 区役所, kuyakusho).
- What to Bring: Your passport and your Zairyu Card (which you received at the airport upon arrival). Bringing a document with your Japanese address is also important if you don’t remember it.
- Key Tip: This is a legal requirement that must be done within 14 days. Without an address printed on this card, you cannot open a bank account or get a long-term phone plan.
Step 2: Enrolling in National Health Insurance
In Japan, enrolling in the national health system is mandatory for all residents, including students.
- The Goal: To enroll in the National Health Insurance (国民健康保険, Kokumin Kenkō Hoken) to receive medical coverage.
- The Place: This is generally done at the same time and at the same counter as your address registration at the city hall.
- The Process: The city hall staff will guide you. You will fill out a form, and the process will often be started automatically after your address is registered. This insurance will cover 70% of your medical fees.
- Key Tip: Do not skip this step, it is mandatory for students even if you have an international health insurance. Medical costs in Japan are extremely high without insurance. Once enrolled, you will receive your insurance card either directly at the ward office or by mail a few days later.
Step 3: Opening a Bank Account (For Daily Life)

This is an essential part of what to do after arriving in Japan to manage your finances. It’s needed for receiving money, paying your rent, and your phone bill.
- The Goal: To open a Japanese bank account (銀行口座, ginkō kōza).
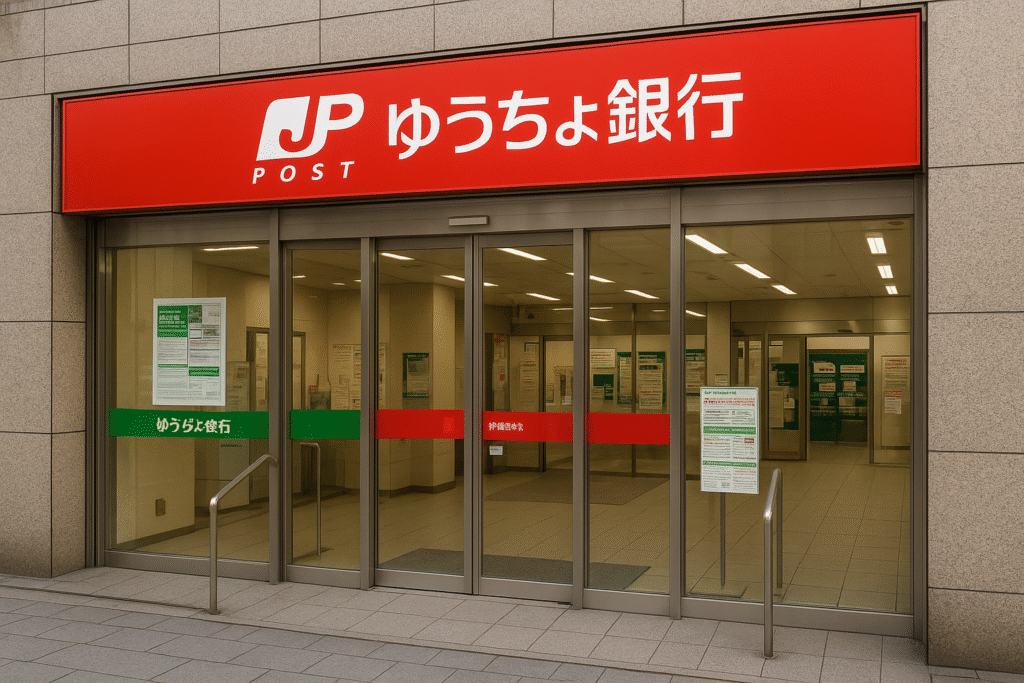
- The Place: The most accessible bank for newcomers is almost always the Japan Post Bank (ゆうちょ銀行, Yūcho Ginkō), available at any post office.
- What to Bring: Your Zairyu Card (with your address printed on the back), your passport, and your personal seal (hanko), although a signature is often sufficient for foreigners.
- Key Tip: Don’t wait to do this. Having a Japanese bank account will simplify all your other administrative tasks.
➡️ We’ve written a complete, step-by-step guide to help you open your first bank account at Japan Post Bank.
Step 4: Getting a Japanese Phone Plan (Staying Connected)
A Japanese phone number is often required for many online services and various applications.
- The Goal: To get a SIM card with a Japanese phone number (携帯電話, keitai denwa).
- The Place: Options are plentiful, from foreigner-friendly providers to Japanese low-cost brands.
- What to Bring: Zairyu Card, passport, and often a Japanese bank account.
- Key Tip: There is a logical order to these steps. It is often easier to open your bank account BEFORE choosing your long-term phone plan.
➡️ Choosing a plan can be a headache. To help, check out our comparison of the best phone plans for students in Japan.
Once you’ve completed these four missions, the hardest part of setting up life in Japan is behind you! You have laid the foundation for your new life. Now you can fully concentrate on your studies, your new friends, and exploring this incredible country.


